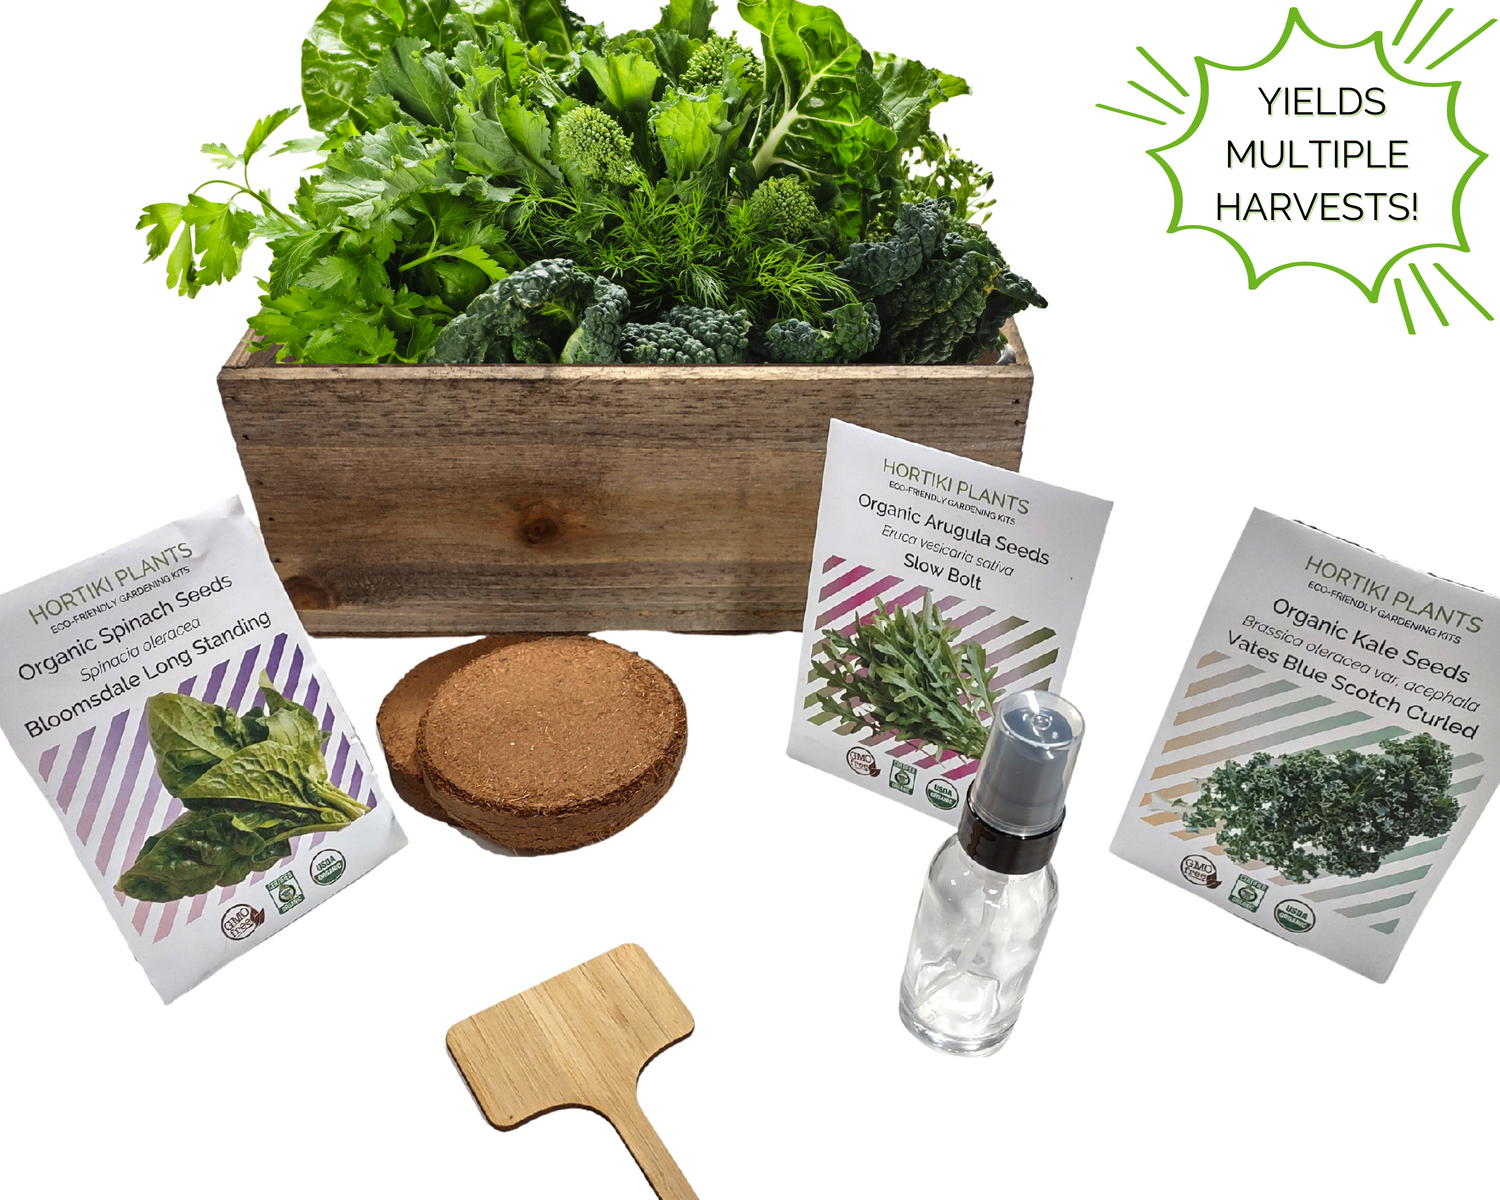
Seed Starting - Is there anything so glorious?!
Starting your own vegetable seeds indoors is a great way to get a head start on the gardening season. It also allows you to grow organic vegetables that may be difficult to find at your local nursery or garden center.
With a little planning and preparation, you can have a successful indoor garden that produces a bountiful harvest of fresh, organic vegetables. Here are 11 tips to help you get started

The Benefits of Starting Seeds Indoors
Starting your own vegetable seeds indoors has many advantages. For starters, it can save you money. By starting your own seeds indoors, you don’t have to buy more expensive plants from a garden center or nursery. Secondly, it allows you to be in control of the quality of the plants you grow. When you start your own seeds indoors, you can select organic varieties that may not be available at a store. You can also choose plants that are more suited for your climate and soil conditions. Finally, starting seeds indoors allows for easier transplants, reducing the shock that new seedlings may experience as they are relocated outdoors. These benefits, as well as the tips listed below, make starting seeds indoors a smart, economical, and fun way to grow vegetables.
11 Must Have Tips for Spring Seed Starting
Starting your own vegetables indoors can be a daunting task, but with a little preparation, you can make the process easier and more enjoyable.
Tip #1: Choose the right combination of seeds.
It can be tempting to plant full packets of every vegetable you see in the store, but unless you have a farm, it’s better not to go overboard. Consider what you like best and how much space you have. If you want to plant your garden based on what you like to eat, check out our article on How to Grow A Thriving Fall Apartment Garden. We help you decide how to grow the right quantity of vegetables based on your actual eating habits.
Tip #2: Start with good-quality soil.
Starting with a quality seed-starting mix is essential for success. You will get the best results with a loose, fertile, disease-free mix. It will provide both the proper nutrients and good drainage for your seedlings. If you are reusing old potting soil from previous years, sterilize by heating soil to 160 degrees and maintaining that temperature for one hour. Cool before using and note that you may need to freshen old soil with fresh compost or organic fertilizer to replenish spent nutrients.
Tip #3: Use clean containers.
Make sure any pots and trays you use are clean and free of any soil-borne diseases or pests. If reusing old containers, clean with vinegar to sanitize and to prevent the spread of disease.
Tip #4: Sow the seeds thinly.
Look on your seed packet for proper seed spacing and be careful not to crowd your seeds too much. This will increase the success rate of germination and reduce the need for thinning (the process of removing weaker or less-vigorous seedlings) later on.
Tip # 5: Keep the soil moist.
You don't want your seedlings to dry out as it can prevent them from reaching a healthy growth stage. Use a spray bottle to keep the soil damp, but not soggy. Or try placing your seedling in a tray of water. The plant roots will draw the water up as needed.
Tip #6: Provide adequate ventilation and air circulation.
Poor air circulation around seedlings can lead to disease and fungal problems. Avoid keeping your seeds in a closet or closed pantry without ventilation.
Tip #7: Keep the seedlings warm during the germination process.
From the time of seeding until seedlings emerge, keep your seeds in a warm environment. Provide an air temperature of 70 to 75 degrees Fahrenheit during the day and night temperature above 60 degrees Fahrenheit.
Tip #8: Ensure seedlings are getting enough light.
If your seedlings are “leggy” - long, thin, and weak - they are not getting enough light. If you don’t get enough natural light, use grow lights. Be sure to follow the instructions when setting up your grow lights. Plants generally need to be within a few inches of the lights to get the most benefit. Note that some seeds actually germinated better in the dark. Check your seed packet for guidance or ask Hortiki! Text your questions to 202-735-1511. Barring any garden emergencies, we will respond within 24 hours. And join our free webinars and on-demand workshops to increase your gardening IQ. Subscribe to our newsletter to get the latest updates.

Tip #9: Harden off seedlings that will grow outdoors.
Before transferring your seedlings outdoors, be sure to harden them off. This is simply the process of gradually increasing their access to sunlight and cooler temperatures to help them acclimate to their new environment.When you seedlings have grown robust and hardy, start to place them outdoors for a few hours at a time each day, gradually increasing their time outdoors until you are ready to transplant.
Be aware of where you place them. Avoid placing new seedlings in areas where you know you have predators and protect as needed to keep you seedlings safe.
Tip #10: Transplant the seedlings at the right time.
Carefully remove the seedlings out of their starter pots and transplant them outdoors and/or to a larger container. Don't transplant until you have the the first “true leaves”. This generally occurs two to three weeks after sowing.

Tip #11: Water the transplants well once you have moved them to their new homes.
Transplant need extra care when they are first replanted. Water regularly and take extra care to prevent wilting by providing some shade for a few days after transplanting. This will give your plants time to acclimate to their new environment.
Conclusion
Starting vegetable seeds indoors is an economical and fun way to get a head start on the gardening season. By following the 11 tips outlined in this blog, you can have a successful indoor garden that produces a bounty of fresh and organic vegetables. So, get out there and grow!
Plant Love,
Victoria
Founder, Hortiki Plants